Argo CD with Auth0 SSO Login

ArgoCD + Auth0 => Great Team
Argo CD is a great tool for gitOps-style Continous Deployment on Kubernetes. It’s fast, simple and has all the essential features your DevOps team might need.
You can connect Argo with all major OpenID Connect Identity Providers out there (Auth0, AzureAD, Okta, OneLogin).
The official documentation for setting up Auth0 + ArgoCD is quite good, but it misses some Auth0-specific points which have to be set up correctly for a secure configuration.
In this article we use https://example.com for the endpoint of the ArgoCD endpoint (Ingress).
Please adapt your configuration accordingly.
Auth0 Setup
Application
In your Auth0 tenant, create a new Application:

Create a new Auth0 application
Choose a name for the application, e.g. ArgoCD and choose “Regular Web Applications”, then create your new Auth0 appliction:
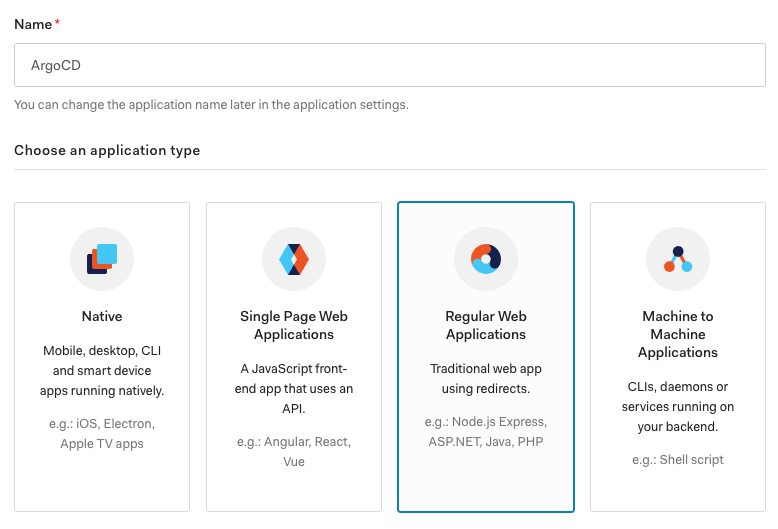
Regular Web Applications
Under Settings, note down the following important info - we need these later in our Argo CD config:
- Domain
- Cient ID
- Client Secret
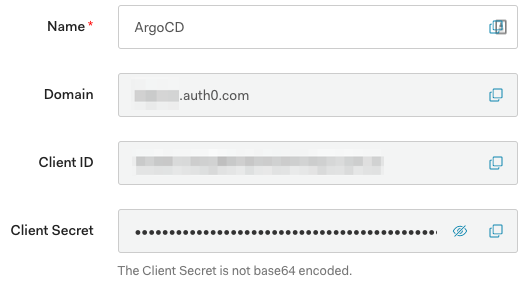
Save these - we need them later
In the Application URIs section set:
(replace example.com with your Ingress URL you configure for Argo CD later)
- Application Login URI: https://example.com/login
- Allowed Callback URLs: https://example.com/auth/callback
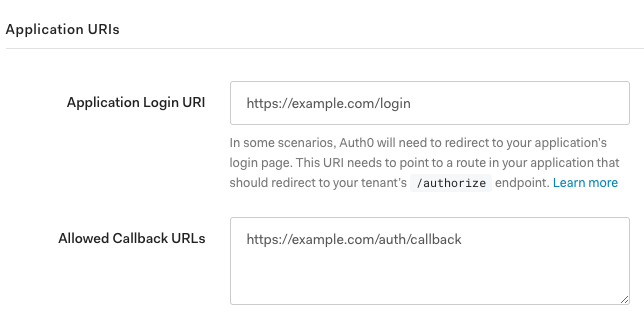
Replace with your Domain
Save your settings at the bottom of the page with the “SAVE CHANGES” button.
Authorization Extension
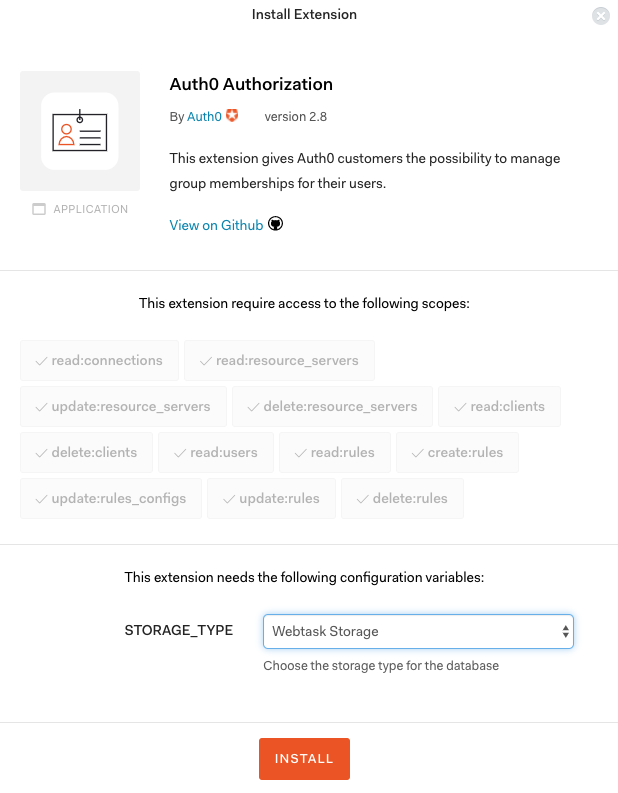
We need to enable the Auth0 Authorization Extension - if you have already installed it in your Auth0 tenant, you can skip this step!
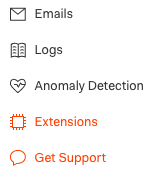
Click on the left menu “Extensions” and then install the “Auth0 Authorization” extension.
You can leave the STORAGE_TYPE setting as is and Install.
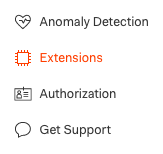
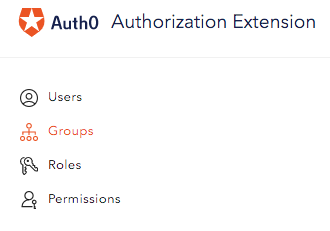
Now when you reload the page, you have a new menu item called “Authorization” visible on the sidebar.
Authorization Extension
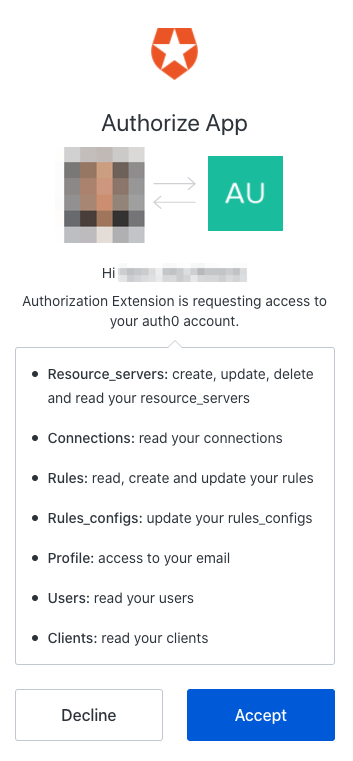
Click on the new Authorization menu item and Accept the Authorize App request:
Authorize
You see the yellow warning notification that the extension needs to be configured, so let’s do this 🙂.

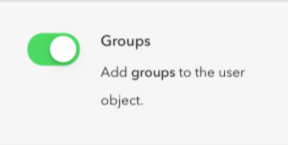
We want to use Groups which we can configure in Argo CD to set fine-grained permissions for our users.
Click Rotate for a new ApiKey, enable the Groups item and finally Publish Rule.
We are now finished with the Authorization Extension setup and can configure our Groups on the right sidebar.
Let’s create an admin group, give it a name like argo-admin and description Argo CD Administrators:


Our new argo-admin group
Click on the person icon on the right side of our new Group and add the members which should have admin rights in Argo CD.
If you have setup a brand new Auth0 tenant, then you have to create new users first on the main Auth0 configuration page. Then you can add them here at the Authorization Extension config.
Create a new Auth0 user on the Users & Groups » Users sidebar item and then choose the Email address and a safe Password for this new user.
Alternative: Login via Auth0 later on Argo CD after you have set everyting up. The new user will be created in Auth0. You then assign this user to the argo-admins group in the Authorization Extension.
Rule for Groups
As the groups claim is a custom non-standard claim (see OIDC Standard Claims), we have to create an Auth0 rule so the claim gets added to the JWT payload data.
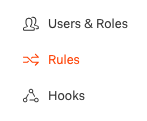
Switch back from the Authorization Extension page to the main Auth0 tenant one and switch to the Rules in the sidebar menu.
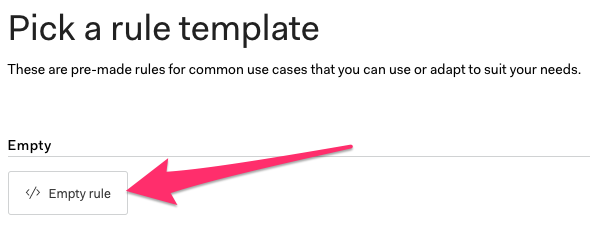
Create a new Rule and choose the Empty rule template.
Give it a name, for example Argo CD Group Claim and add the following script snippet (replace the existing template code in the script box):
ℹ️ The namespace can be everything (except Auth0 domains), but choose your Argo CD endpoint like above.
function (user, context, callback) {
  var namespace = 'https://example.com/claims/'; // You can set your own namespace, but do not use an Auth0 domain

  context.idToken[namespace + "groups"] = user.groups;

  callback(null, user, context);
}
Finally, save the changes, go back to the rules overview and verify that your new rule is BELOW the auth0-authorization-extension rule:
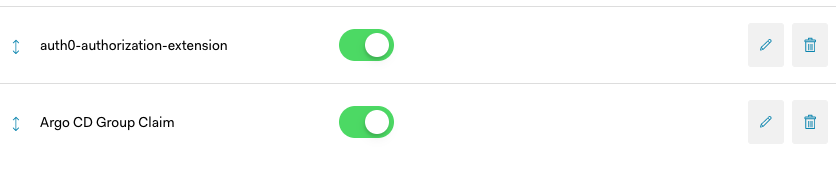
If neccessary, you can arrange them via drag-and-drop
Now we are finished setting up Auth0 and move on to our Argo CD setup.
Argo CD Setup
OIDC Config
If you’re using Helm (you should, Helm is now a graduated CNCF project!), you can configure Auth0 OpenID configuration in your values.yaml:
# Some configuration options were removed to improve readability
# Replace clientID, clientSecet, issuer and groups URL with your Auth0 configuration

server:
  config:
    oidc.config: |
      name: Auth0
      issuer: https://<TENANT>.<REGION>.auth0.com/
      clientID: <CLIENT_ID>
      clientSecret: <CLIENT SECRET>
      requestedIDTokenClaims:
        groups:
          essential: true
      requestedScopes:
        - openid
        - profile
        - email
        - 'https://example.com/claims/groups'
RBAC Config
For RBAC, we want to map our Auth0 Group argo-admins we created before with the Argo permission role:admin.
# Some configuration options were removed to improve readability
# Replace the scopes URL with the namespace URL you configured above
# (Remember: we set this in the Auth0 rule script)

server:
  rbacConfig:
    policy.csv: |
      g, argo-admins, role:admin
    scopes: '[https://example.com/claims/groups, email]'
That’s it! Deploy your updated Argo CD values to Kubernetes and login with Auth0 🥳

SSO with Auth0 in Argo CD
Final Words
If you encounter any problems or have some ideas on how to improve the explanations in this article, please let me know!